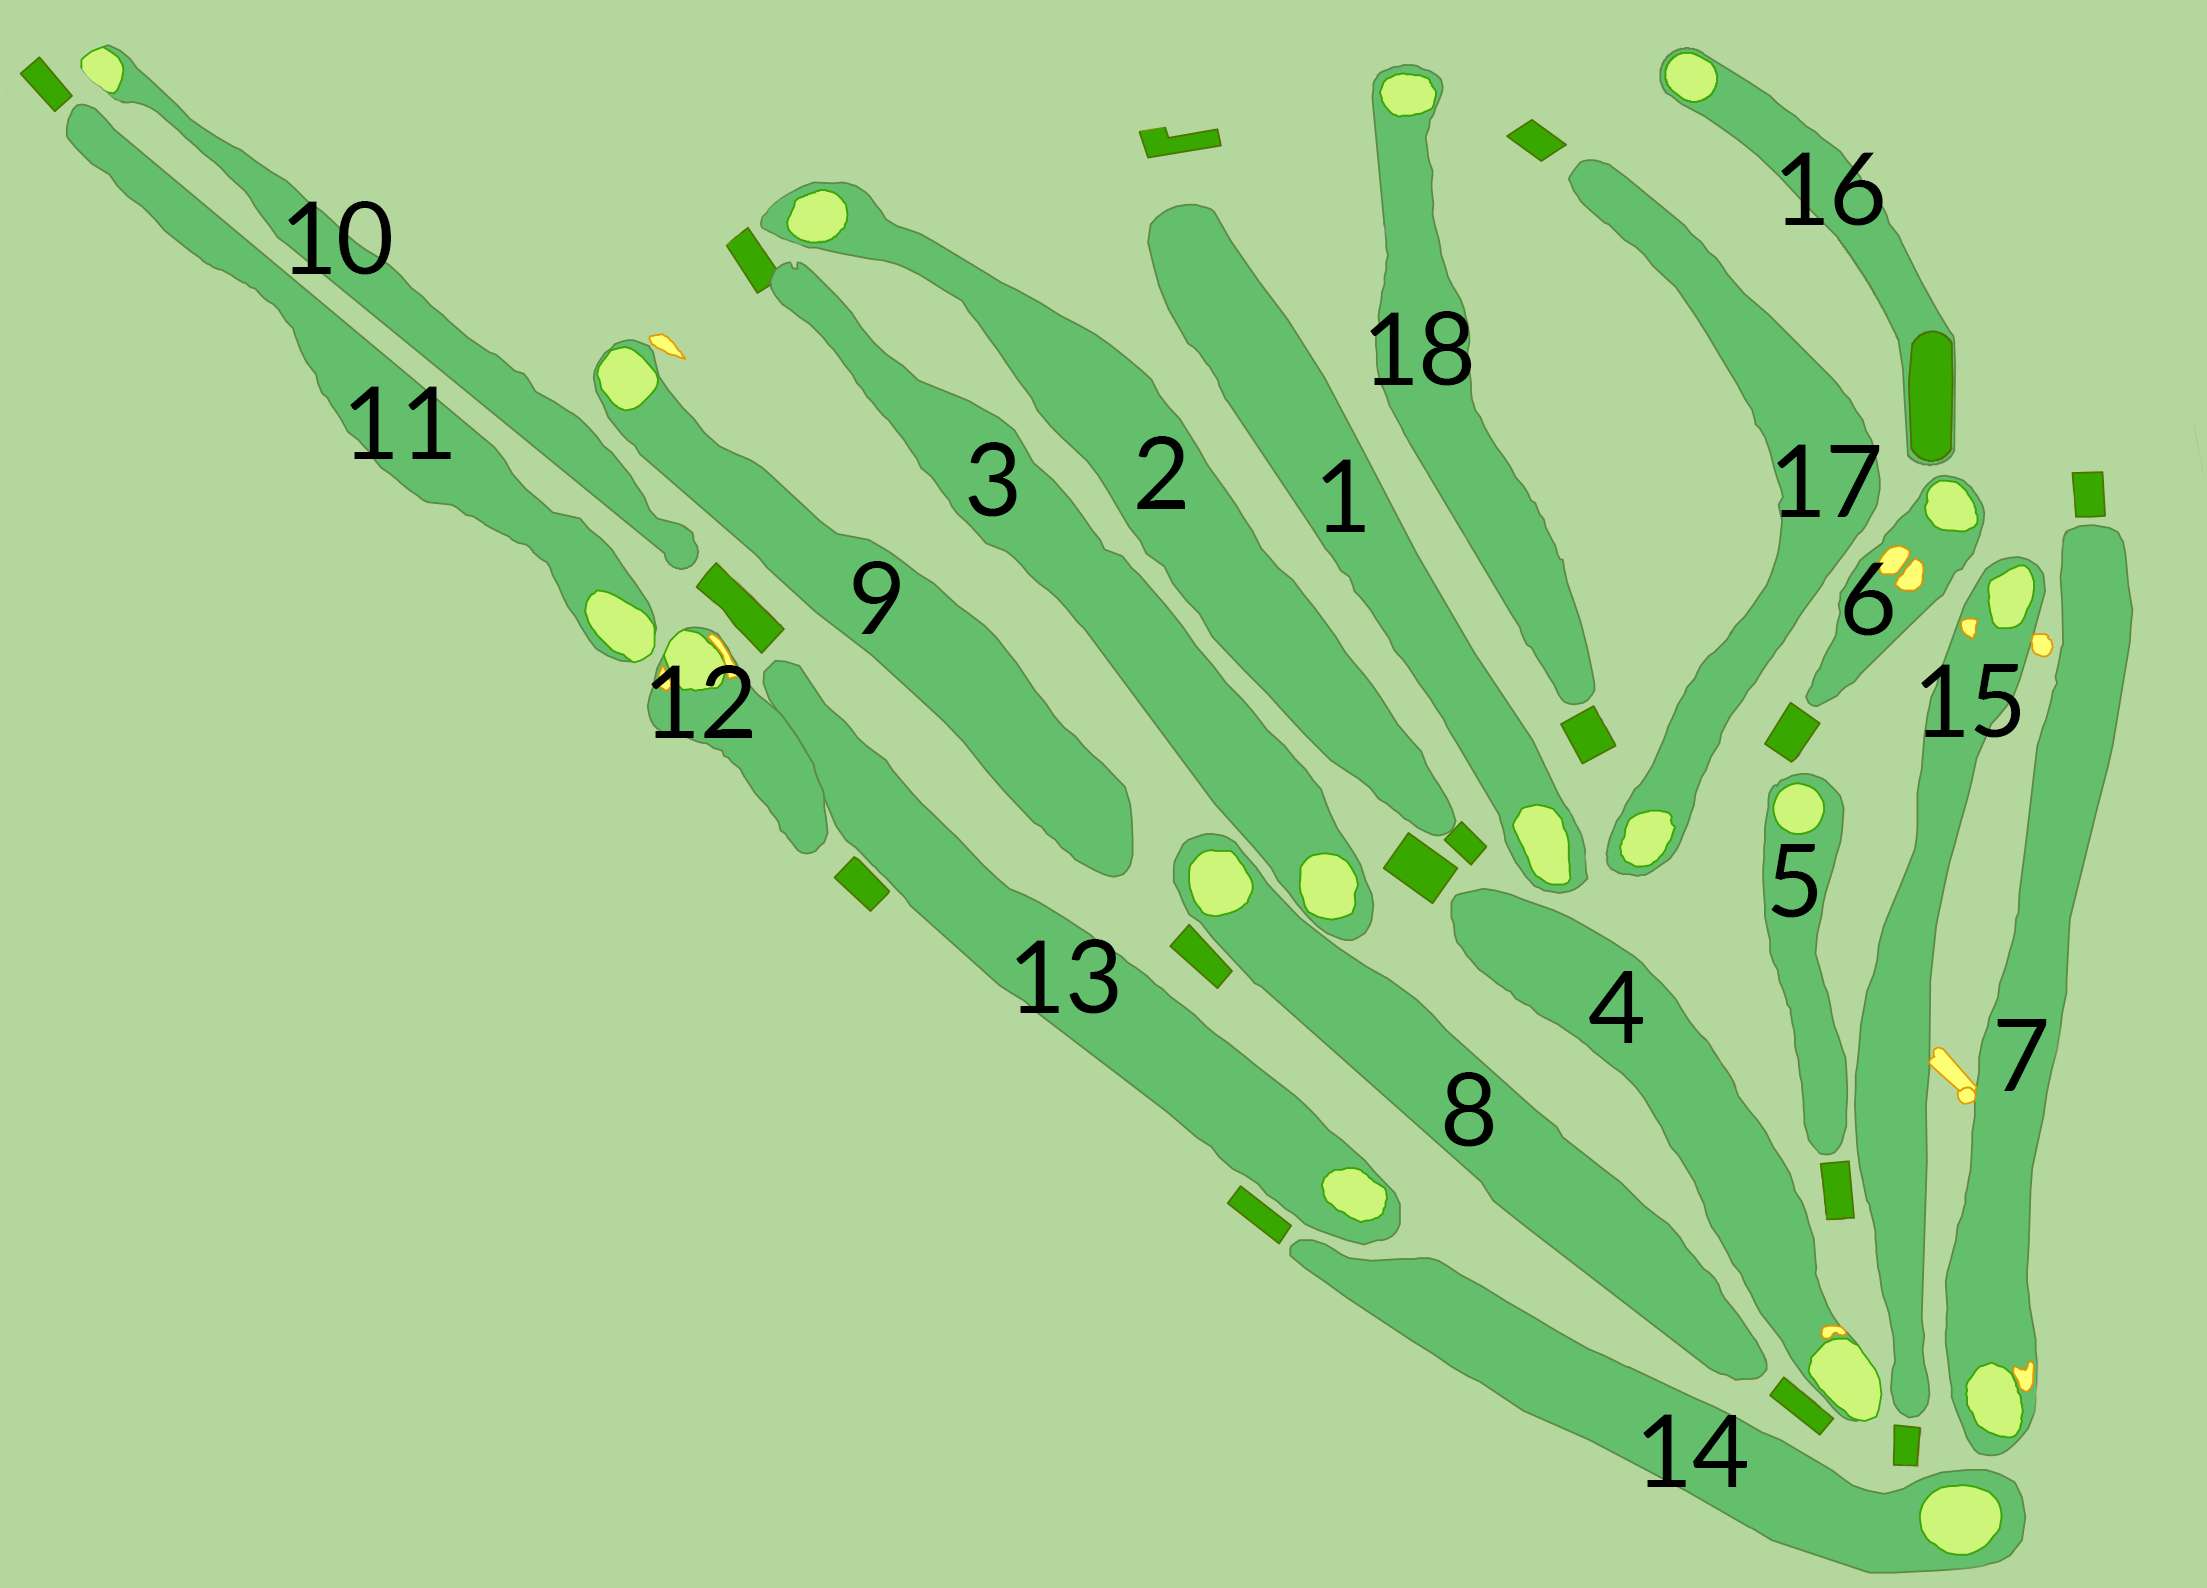
Course Overview
The Par 71 South Course is one of South Australia’s golfing gems.
Use the link below to access the City of Adelaide North Adelaide Golf Course 'South Course Drone Tour' for a flying overview of the South Course.
South Course Drone Tour (Adelaide City Council - North Adelaide Golf Course website)
Use the drop-down menu in the upper right hand corner to select holes to view by drone tour.
Barely a minute from Adelaide's CBD, the course is home to the prestigious Lord Mayor’s Golf Trophy and regularly hosts PGA pro-am events.
A Parklands style course, the South Course measures in at 5,780 metres.
Kikuyu fairways and Santa Ana couch tees provide a high quality playing surface all year round.
The Bent grass greens are maintained to a high standard and present players with a genuine chance to post a score reflective of their performance on the day.
With a Golf Australia Slope Rating of 122, effective from 15th July 2022, the South Course provides a Par 71 challenge to the beginner and accomplished golfer alike.
From the ladies tees, the course measures a lengthy 5,344 metres, Par 73 with a Golf Australia Slope Rating of 124, effective 15th July 2022.
Tall, mature trees line most fairways, punishing a wayward drive while modest, sometimes bunkered greens provide a challenge for the approach shots.
The course features a good variety of holes with everything from short Par 3's to genuine 3-shot Par 5's.
With no water hazards, minimal rough off the fairways and short distances from 'green to next tee-block', players can negotiate their way around the South Course easily and maintain good pace of play with minimal lost balls.
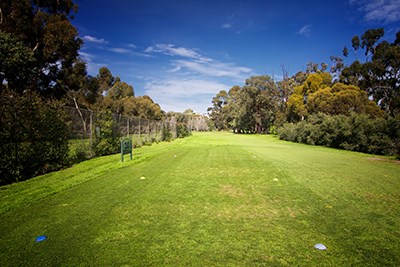
Hole 1
Mens
Par: 4
Index: 10
Length: 347m
Women
Par: 4
Index: 9
Length: 337m
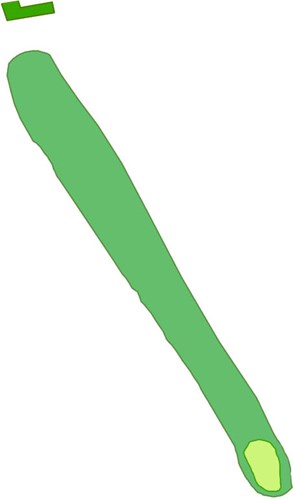
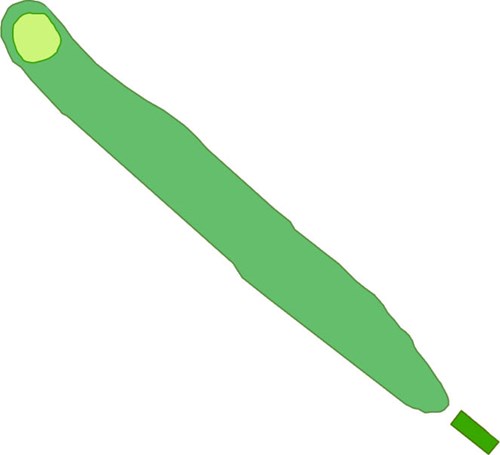
A picturesque opening hole, the tee shot should be taken as close as possible to the left hand fairway bunkers.
This will open up the line into one of the smaller greens on the course and avoid the trees short right of the green.
A good opportunity for an opening par and a comfortable start to your round.
Hole 2
Mens
Par: 5
Index: 7
Length: 441m
Women
Par: 5
Index: 2
Length: 404m

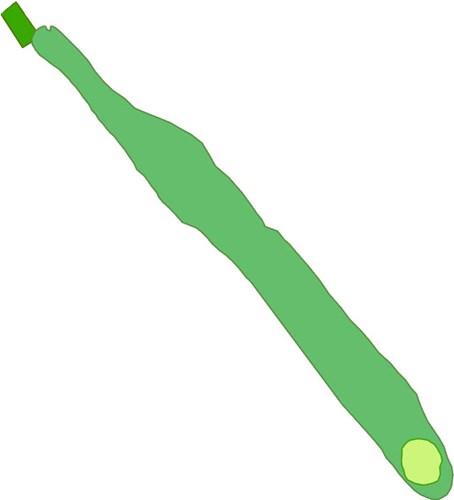
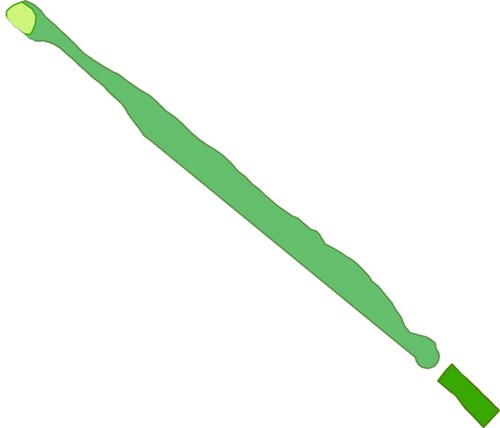
A short Par 5, reachable in two shots for the long hitters.
Placement from the tee and the second shot down the right hand side are paramount to negotiate the dog-leg and ensure a clear view of the elevated putting surface.
Make sure you’ve taken enough club on the third shot.
The hill in front of the green loves to return the ball to your feet.
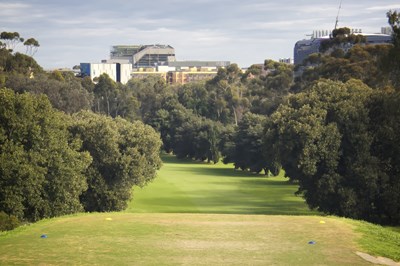
Hole 3
Mens
Par: 4
Index: 2
Length: 399m
Women
Par: 5
Index: 14
Length: 383m
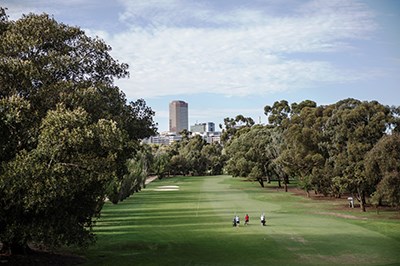
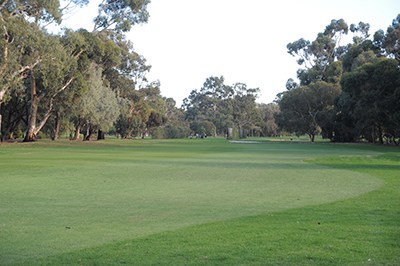
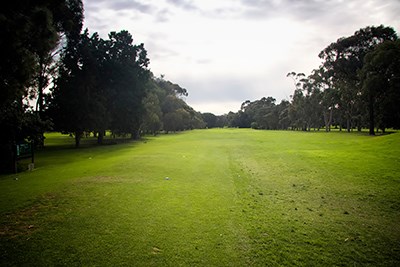
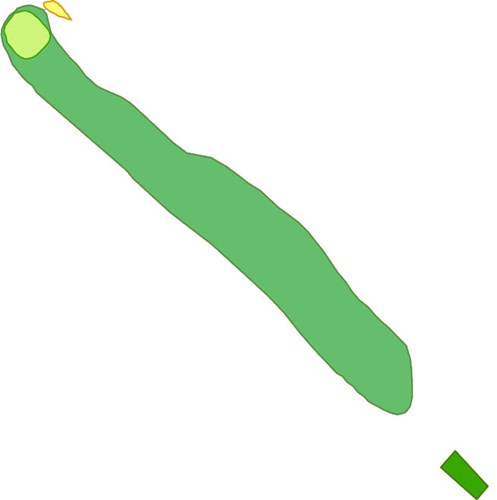
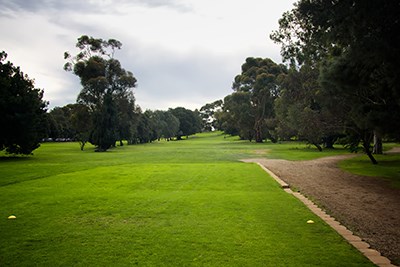
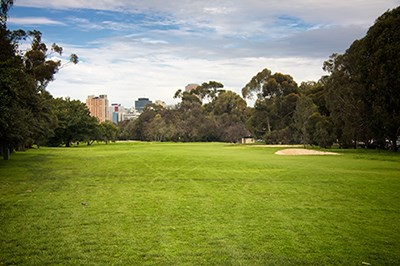
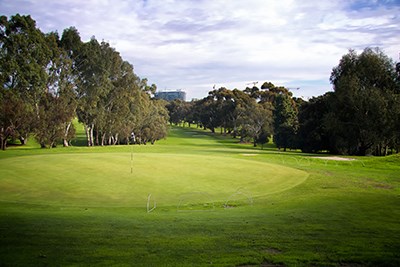
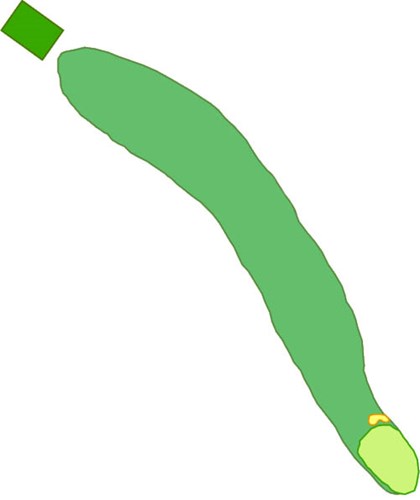
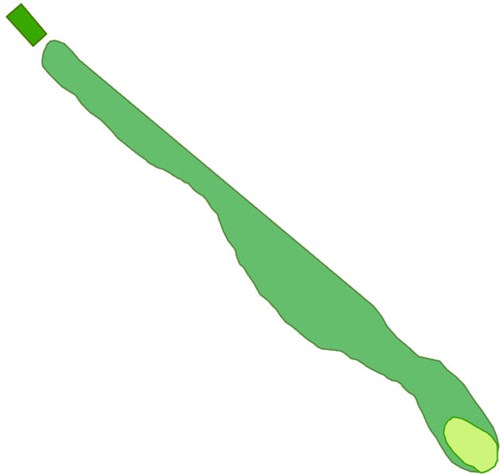
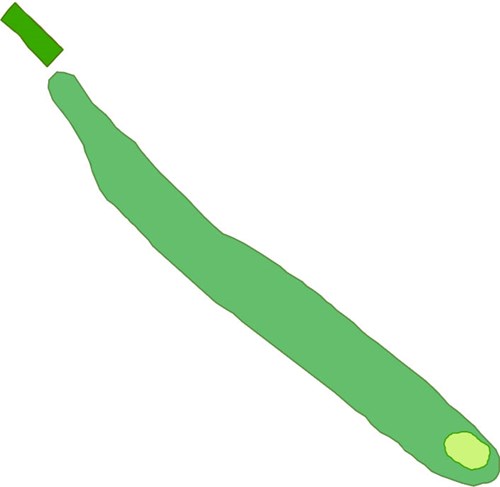
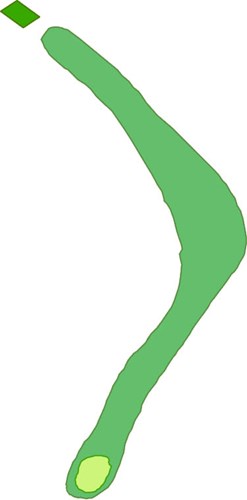
The signature hole on the South course.
Postcard views greet the player from the tee, a long par 4 with the best city backdrop in the country.
Two fairway bunkers await a tee shot down the left hand side.
Once you’ve negotiated these, a solid mid to long iron will see you safely on the putting surface.
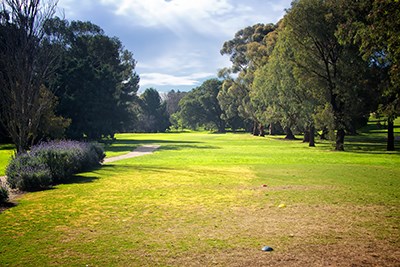
Hole 4
Mens
Par: 4
Index: 9
Length: 321m
Women
Par: 4
Index: 8
Length: 308m
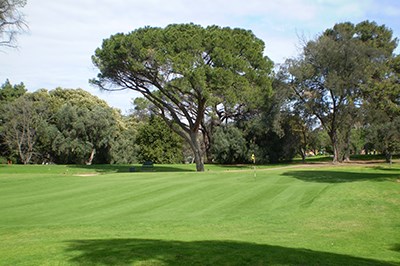
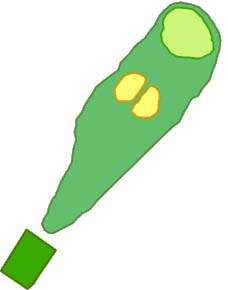
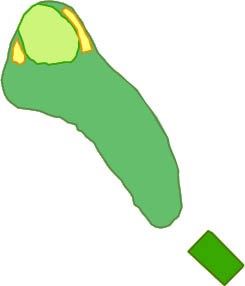
A good birdie opportunity, the fourth hole is all about placement.
The hole moves from left to right around the tree line and a tee shot anywhere left of centre will leave you having to negotiate the huge gum tree strategically placed within the bunker short of the green.
3 wood or hybrid may be good option off the tee here to help setup a clear line to the pin.
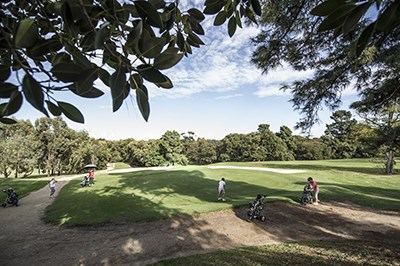
Hole 6
Mens
Par: 3
Index: 18
Length: 111m
Women
Par: 3
Index: 17
Length: 92m
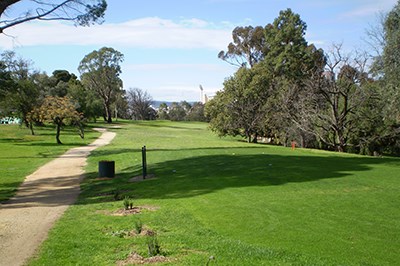
A short, uphill Par 3 to a well-guarded two-tier putting surface.
Grass bunkers protect the green short, and left is a deep sand bunker, making club selection crucial.
Unable to see the base of the flagstick from the tee, anything short of the green will often spin back into the front bunkers or roll back down the narrow opening to the fairway.
The two-tier green slopes from back to front and players should aim to keep the ball below the hole to improve their chance of making the putt.
Hole 7
Mens
Par: 5
Index: 12
Length: 458m
Women
Par: 5
Index: 12
Length: 400m

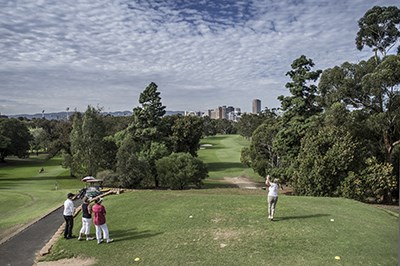
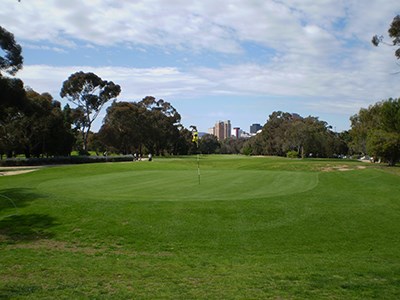
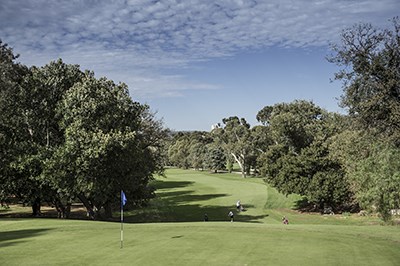
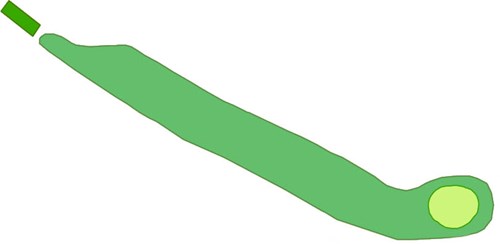
More great views await players from the 7th tee.
With the famous Adelaide Oval to the left and the city straight ahead, it’s time to “let the big dog out”.
Whilst the landing area is generous, out of bounds borders the left hand side of the fairway all the way to the green.
Two fairway bunkers short and right of the green, wait to punish a leaking shot right whilst another greenside bunker short, left forces players to carry the ball all the way onto the green.
A good birdie opportunity for the long or straight hitters alike.
Hole 8
Mens
Par: 4
Index: 3
Length: 362m
Women
Par: 4
Index: 3
Length: 317
The 8th has a wide driving zone, tempting players to open the shoulders once again.
Pin point accuracy is required on the second shot to a small, elevated green.
Any shot missing the green will leave a player with a tricky uphill chip or flop shot and little green to work with.
A par here is very well earned.
Hole 10
Mens
Par: 4
Index: 5
Length: 329m
Women
Par: 4
Index: 6
Length: 310m
One of the tightest driving holes on the course, a Fairway wood or Hybrid is often the best option from the tee on the tenth.
From the middle of the fairway, accuracy is again required in order to hit the long, slender elevated green.
Heavily banked to the right and sloping away on the left, short is the only spot to be if you are going to miss this green.
Hole 11
Mens
Par: 4
Index: 8
Length: 345m
Women
Par: 4
Index: 5
Length: 330m
Out of bounds and bunkers to the right, force players to rethink their club choice off the tee on the eleventh.
A pot bunker on the right in the driving zone encroaches onto the fairway, narrowing the landing zone considerably.
Once you’ve negotiated these hazards, it’s only a short iron to the green and hopefully a good birdie or par opportunity.
Hole 12
Mens
Par: 3
Index: 16
Length: 132m
Women
Par: 3
Index: 16
Length: 115m
A deceptive, short Par 3 with a large ditch short of the green.
Whilst only requiring a short iron to get to the green, trouble awaits left and right with two large bunkers.
Short and long of the green is also less than desirable.
A green in regulation here often results in a sigh of relief.
Hole 13
Mens
Par: 4
Index: 11
Length: 354m
Women
Par: 4
Index: 10
Length: 314m
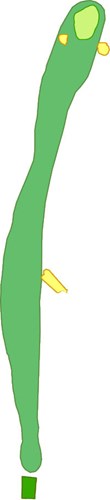
From the tee, the 13th moves right to left with two large fairway bunkers on the right waiting to catch a ball that doesn’t turn over.
The second fairway bunker is deep and makes for a very difficult approach shot.
The shape of the fairway funnels most balls into the middle, providing a clear line to green and taking the bunkers right and left out of play.
A hole where it’s just as easy to make birdie as it is a double bogey.
Hole 14
Mens
Par: 4
Index: 6
Length: 351m
Women
Par: 4
Index: 7
Length: 328m
There’s little advantage in taking th Driver from the tee on the 14th.
Any tee shot left of the centre of the fairway will force players to have to carry the Morten Bay Fig tree short of green whilst trees and Out Of Bounds to the right will punish the over compensator.
The approach shot is not without danger to a raised putting surface that falls sharply away on both sides.
Par is a good score here.
Hole 15
Mens
Par: 5
Index: 14
Length: 421m
Women
Par: 5
Index: 4
Length: 403m
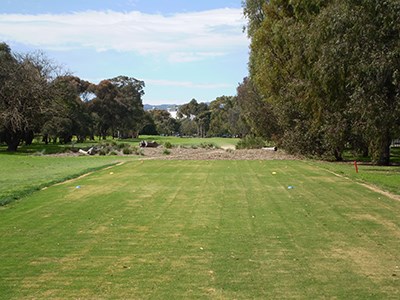
Three pot bunkers in the driving zone force players to flirt with danger if they want a chance to reach this green in two.
A tee shot finishing right of the centre of the fairway will block players out from the green, forcing a layup and pitch in.
The second and third shots are all uphill, effectively adding distance to this Par 5.
A false front on the green makes club selection difficult and adds to the complexities of this hole.
Hole 16
Mens
Par: 3
Index: 15
Length: 176m
Women
Par: 3
Index: 18
Length: 133m
Possibly the prettiest and most difficult Par 3 on the course.
Starting from a slightly elevated tee, players are challenged by a large, heavily undulating green that sits at an angle to the tee block.
A large ridge runs diagonally through the green, separating the green into two distinct halves.
To give yourself the best chance of a par, make sure your ball finishes on the correct section of the green.
Three putts are very common on this putting green.
Hole 17
Mens
Par: 4
Index: 1
Length: 381m
Women
Par: 5
Index: 13
Length: 363m
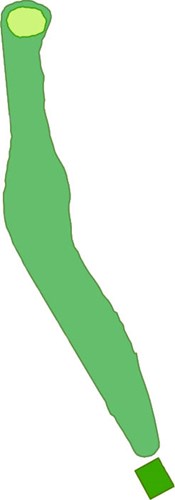
Coming down the stretch, players are greeted by the hardest hole on the course.
For most players, a driver or fairway wood to the top of the hill will leave a hybrid or long iron downhill from a sloping lie to a relatively small green.
For the bravest players amongst us, there is the possibility to short cut this hole.
An aggressive tee shot right of the pine tree on the corner can result in as little as a Sand wedge left to reach the green.
A true risk and reward hole. Be warned, a double bogey is easy work on the 17th.
Hole 18
Mens
Par: 4
Index: 4
Length: 319m
Women
Par: 4
Index: 1
Length: 305m
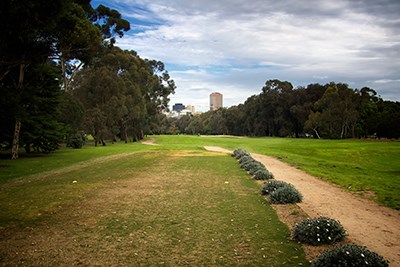
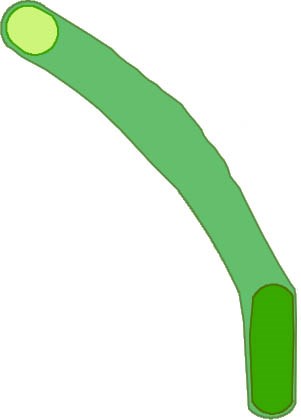
Bringing the round to a close is a mid-length par 4 that doglegs to the right.
It’s best to place the tee shot just in or slightly short of the bend in the fairway to make the most of the larger landing zone.
The second shot is to a small elevated green that requires accuracy and precise club selection to give the player the best opportunity of a par.
Anything short of the green is likely to roll back down the hill.